HELLO
Mom to Iris. Wife to Todd. Our little family lives at the foothills of the Ozark Mountains in Fayetteville, Arkansas. We love it here and I love sharing little bits of our life.

© 2014 sarahfortune.

+

Category : Sponsored

Botox Q&A

I’ve gotten asked a lot of questions about my first experience with Botox, so I wanted to share a few of the common questions I’ve received. For those of you that haven’t been keeping up, yes I tried Botox for the very first time this past fall (courtesy of Northwest Arkansas Center for Plastic Surgery), and YES – I fell in love. Hopefully my answers here will help those of ya who are on the fence!

Did it hurt?
After my very first injection I was like, “That’s it?! That’s WAY too easy.” And it was. My NWACPS nurse injector (AKA my new best friend, Annie) first gave me a little ice pack to numb my injection areas, so it really just felt like tiny little pinches. Bonus: I got to keep the reusable ice pack. We keep it in the fridge and Iris uses it as her “ouch pouch” whenever she gets hurt.

Does your face feel any different?
If anything, it feels little tighter – but in a good way. Overall, it’s not very noticeable though.

Where did you get the injections?
Where my lines and wrinkles have started to form – My crows-feet, forehead, and in-between my eyebrows.

Can you really tell a difference?
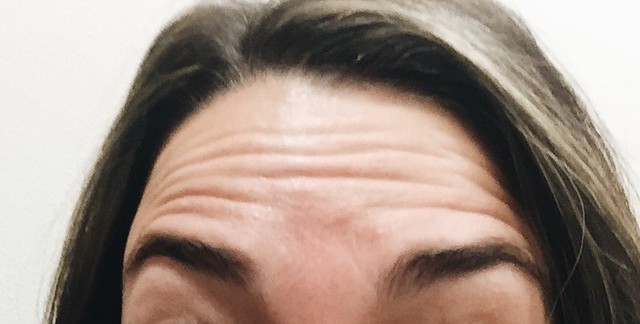
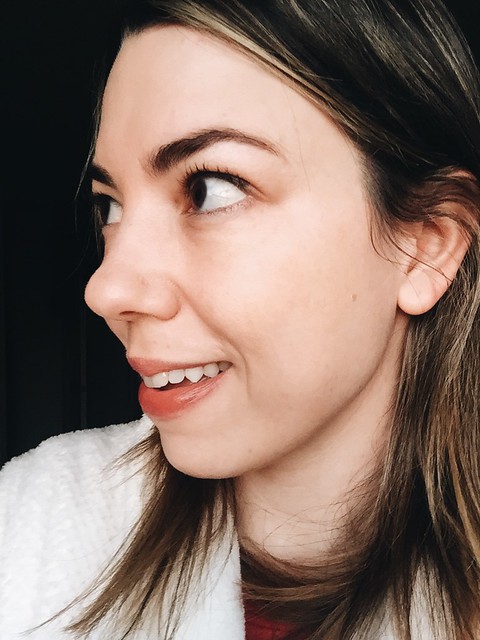
Absolutely! It’s subtle, but smooth – just like real-life photoshop. Now when I’m outside in the bright light, I don’t look like I’m scowling. When I smile, I don’t have drastic wrinkles by the corners of my eyes. And since I no longer have bangs, all you see is a smooth forehead!

Can people tell that you got it?
If I wasn’t broadcasting it on my blog (and to everyone I meet), I think it’s safe to say that no one would look at me and think, “Botox!” But once I point it out, I think the difference is pretty clear (see the before and after photos below). I’ve said this time and time again, but I love NWACPS‘s approach to Botox. They start out small because you can always add more later, but you certainly don’t want to over do it! As for right after the injections, I had little dots on my forehead, but they were gone by that evening. In fact, I got my injections on my lunch hour and went straight back to the office. Keep in mind that the effects aren’t instant though. I didn’t start seeing results until after about four days and after about two weeks it should be fully set.

How long does it last?
For me, it started to slowly wear off around the three-month mark. You can probably make it stretch more towards four months, but it’s actually more beneficial in the long-run to get another treatment when you notice it starting to fade. Since it prevents your muscles from moving, it’s also preventing some of those new wrinkles from forming! You may even find yourself needing less injections.

Have you tried any other injectable?
I have not, but I have asked about fillers. One day I might give them a try, but (thankfully) my face is still pretty full and youthful according to Annie – she’s my best friend for a reason. 😉 And that’s why it’s so important that I’m taking such care of my skin now (beyond Botox) through an advanced skincare routine – so that hopefully the need for other treatments will be a lot further out. It’s all about preservation!

Would you get Botox again?
Yes, yes, yes, yes, YES. In fact, I’ve already gotten my second round. In a perfect world I would go every three months.

Okay, okay – I get it. You love Botox. But what about some before and after photos?
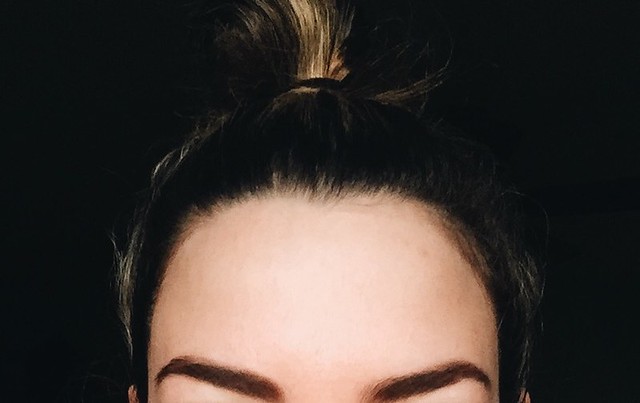
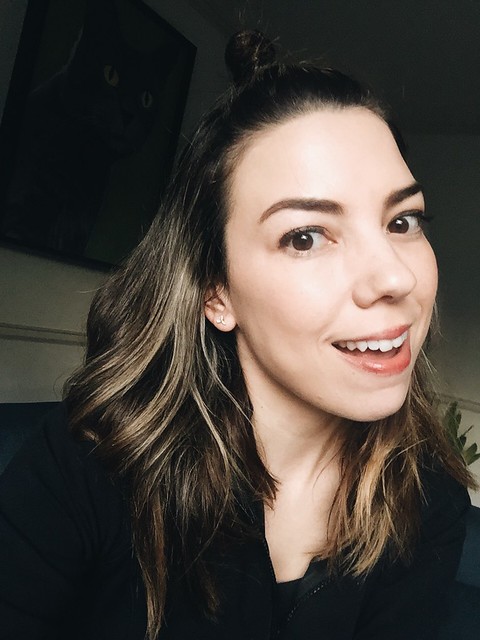
Oh I love a good before and after, so here you go. These first photos are from my very first visit to NWACPS:
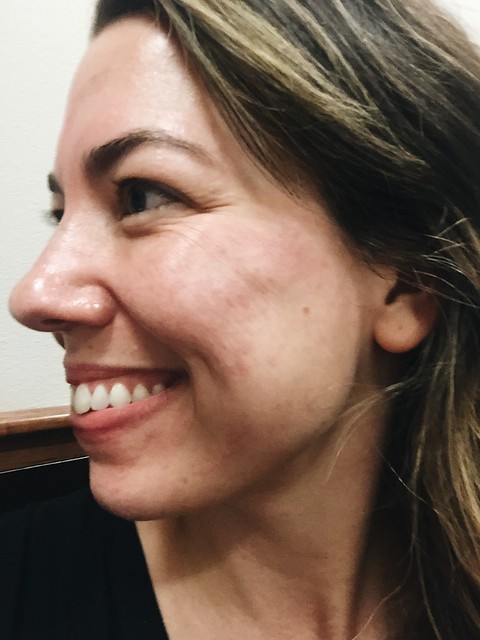
And here I am recently (about two weeks after my second round of Botox):
If you live in Northwest Arkansas and are thinking about it, I will forever recommend going in for a skincare consultation at Northwest Arkansas Center for Plastic Surgery. Not only is the consultation free, but they work with you based on your personal needs and budget (not to mention they are the sweetest bunch of people you will ever meet).

Iris’ First Build-A-Bear

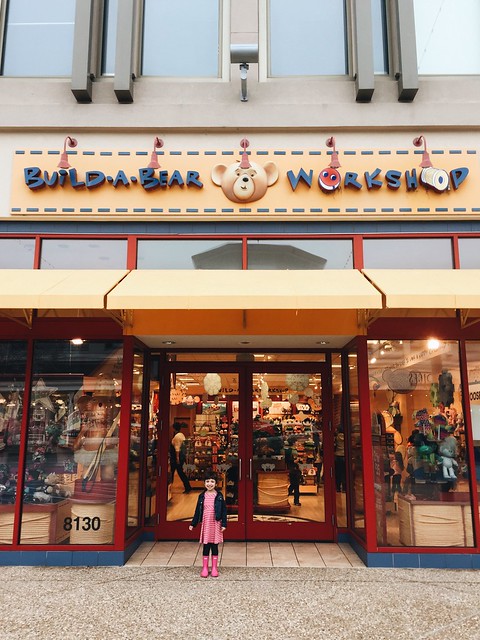
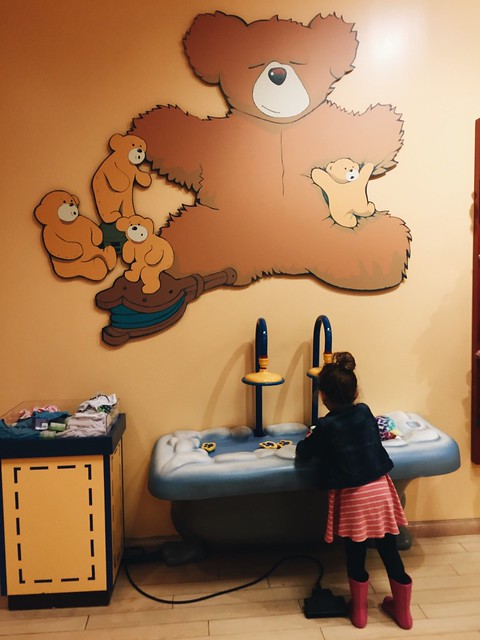
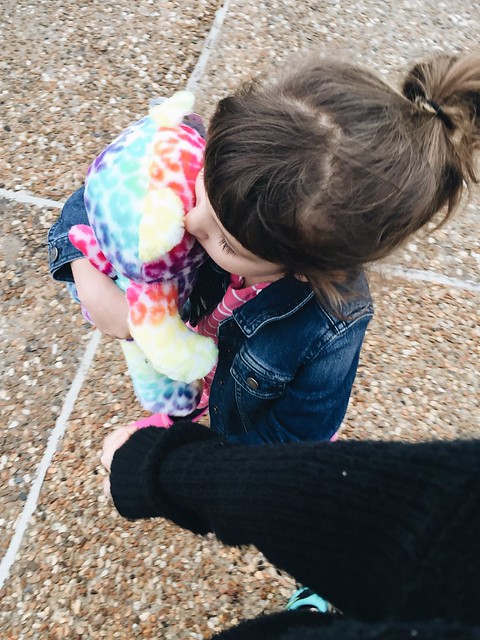
So Iris has been wanting to visit a Build-A-Bear Workshop ever since she saw it featured on Family Fun Pack. Have you all been introduced to this You-Tube family? Iris is obsessed and talks about the kids as if they are her best friends. So when she was presented with a gift card from THE Build-A-Bear, she was over-the-top excited. In fact, when we got to our local shop, she immediately picked out the exact same bear as Alyssa from the show.

From there, Iris went through the sweet little Build-A-Bear process of choosing a heart, rubbing it in her hands, making a wish, and then sealing it with a kiss. Iris took this process VERY seriously.. if only I could get her to tell me what she wished for.

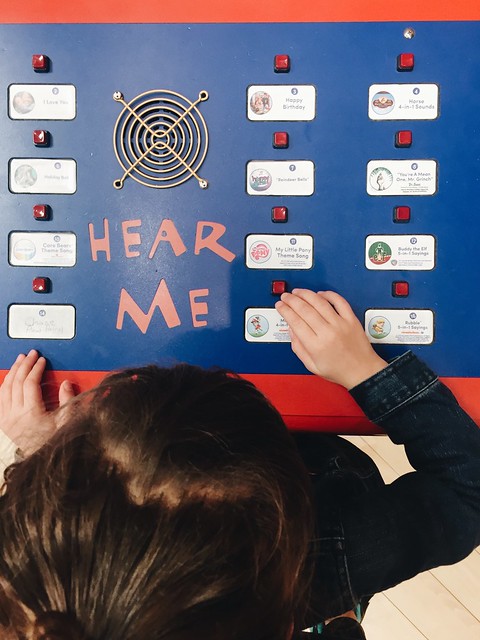
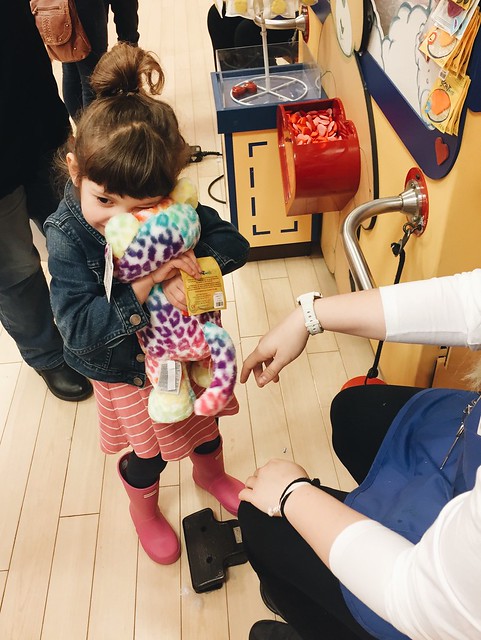
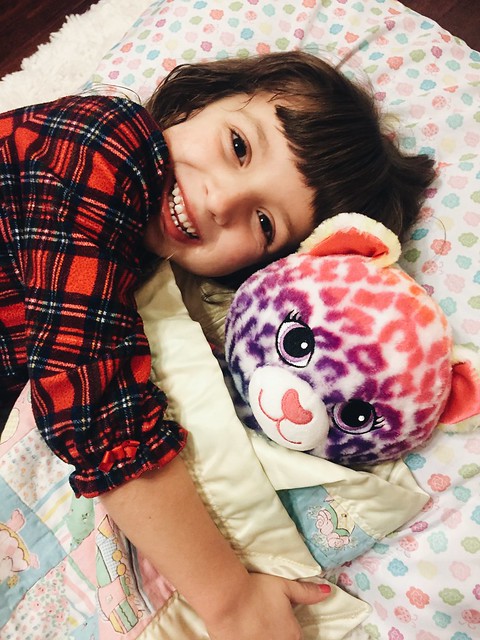
After picking out a scent (strawberry!) and a song (a Christmas tune in January?), she fluffed her new friend with the help of a very sweet (and patient) employee. Once she hugged her bear to test out the level of fluff, it was off “wash” and brush her new friend. After about 30 minutes in the salon, it was time to pick out a couple of outfits and then – a name. I’m happy to report that Sweet Freckle Heart has finally found her forever home with my little family. And that after the success of Iris’ first Build-A-Bear experience, I’m sure she’ll be getting more bear siblings in the future.

New Skin for a New Year

Nearly everyone vows to take care of their health as part of their New Year’s resolution – exercising more, eating better, but what about taking care of your skin? Last January I started working out regularly and, one year later, I’m still going strong. So now that exercise is a normal part of my routine, 2017 is the year I pledge to take care of my skin.

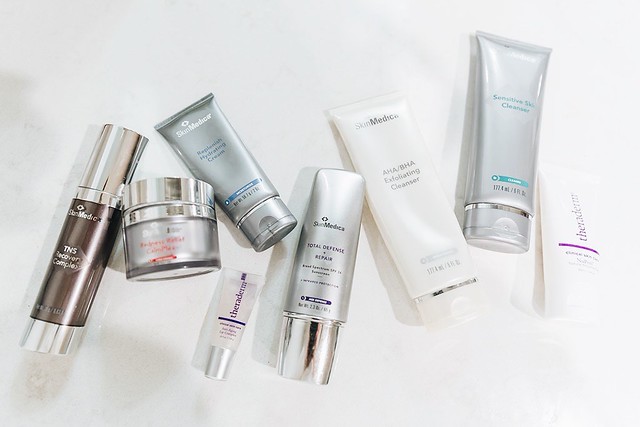
Thankfully, I have a head start as I’m entering the New Year with a fresh skincare routine, which I thought would be fun to share. I will say that the best part about my routine is that it’s tailored for me. If you’ve been following along on my skincare journey, you’ll remember that I met with Krissa, my lovely esthetician, at the Northwest Arkansas Center for Plastic Surgery’s Skin Care Center a few months back (see that post here). They give free consultations and help guide you in the best direction not only for your skin, but for your time and budget.

A solid three months in and I can honestly say that my skin has never been smoother, softer, or glowy-er (that’s not a word, is it? It should be). The only downside is that when I do have an imperfection, it’s so much more noticeable because now my face is such a fresh canvas… but that’s an amazing problem to have. You can check my updates via previous posts here and here. As for my personal skincare regime, I have pretty sensitive skin so everything that NWACPS has done for me has been with that in mind, including the products that I use. Take a look!

Morning:
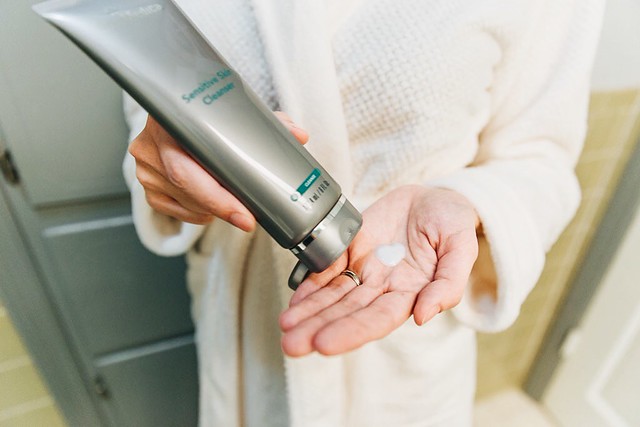
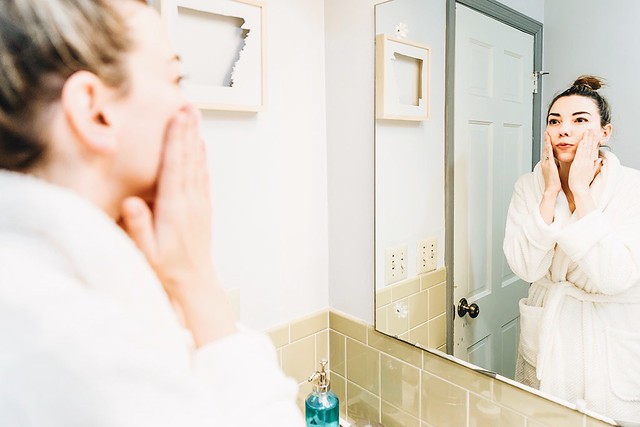
– I start with washing my face with warm water and SkinMedica Sensitive Skin Cleanser.
– After rinsing and patting dry, I apply a few dabs of SkinMedica Redness Relief CalmPlex. This cream smells like cinnamon and has a slight tingly feeling that my face now craves every morning like a strong cup of coffee. The main perk is that it helps pull out the redness that I get oh-so easily, especially along my T-Zone.
– From there, I apply a penny-sized portion of SkinMedica Replenish Hydrating Cream. If the cold weather has dried out my skin, I may add a little more. I’m kind of picky when it comes to facial moisturizers, but I’m in love with this one – it hydrates, soothes, and smooths all at the same time (and a little goes a long way).
– Lastly, I use SkinMedica Total Defense & Repair as the final step before makeup. With SPF 50, this goes beyond UV protection and also defends against infrared rays.
– About 2-3 times a week I also start my routine with Theraderm NuPeel. I apply about a nickle-sized portion to completely dry skin. As I scrub, it gently removes dead skin cells. Basically it’s an easy, natural facial peel that you can do at home.
– Throughout the day I apply Theraderm Anti-Aging Lip Complex (in the winter months this helps keep my lips from becoming chapped as well).


Night:
– Wash again with warm water and SkinMedica Sensitive Skin Cleanser, cleaning off any makeup I wore that day.
– About three times per week I also wash with AHA/BHA Exfoliating Cleanser. This step gently scrubs away dead skin, improving skin tone and texture.
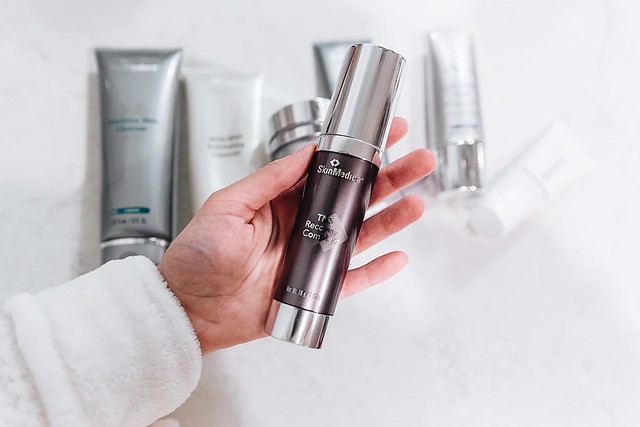
– Next comes the GOOD stuff – TNS Recovery Complex. Orange in color, and a bit odd in smell, you can tell this really works. It rejuvenates, reduces appearance of fine lines and wrinkles, and enhances skin texture and tone. It dries very quickly, so I spread it out as fast as I can savoring every last drop. Again, a little of this goes a long way.
– Finally, I once again coat my face in my favorite SkinMedica Replenish Hydrating Cream, then off to bed I go!

Maintenance:
– At the center of every good skin routine is a good core of maintenance. I’ve been getting Dermaplane once every month and, as you can tell from my previous post, it’s one of my favorite things. Not only does it leave my skin soft with an incredible glow, but the procedure is actually very relaxing. Dermaplane removes the peach fuzz from the face, while also creating a good foundation for other things, such as peels.
– Speaking of which, I’ve also done a couple of lactic peels, some very light and some a little stronger. I love that NWACPS eases me into things so that we can see how my skin will react. Over the last couple months my skin has become less sensitive, so I’m able to try out the stronger stuff. Yeah!
– For tougher spots to treat (like my nose), I’ve had microdermabrasion treatments instead of Dermaplane. Having the option to combine both in one sitting is great (once again, THANK YOU KRISSA!).
– One word: BOTOX. I’ve gotten it once and, three months later, I’m set to get my second round this week! While I know it can be a little intimidating to try at first, I can tell you that it is worth it a million times over. At 36-years-old, I have wrinkles that have started to form where I don’t necessarily like them (my furrowed brow, crows feet, and forehead). Botox has subtly smoothed out these lines and will also help in preventing new ones. Done and done!
– Last month I also added something new to the mix – laser! At NWACPS they used a machine called the Nordlys Hybrid Experience, which is a less painful form of laser. I must admit, I was a tad nervous to try this because I had no idea what to expect. My nerves were all for nothing though, because the pain level was completely bearable (at most it felt like a rubber band snap) and there was no recovery afterwards. The round that I did was to remove brown spots under my skin’s surface and my next round will be to remove the redness (which I have a ton of). Overall, this will give a more even look to my skin, making it look even better overall!

While this may sound like a lot, I actually only spend about 5 minutes every morning and night, plus I look forward to each face wash (and of course to each appointment). Because my skin has already changed since beginning my new regimen, I’m sure that means my routine will change as well – and that’s why I’m so happy to have professionals helping me along the way. I highly recommend at least starting with a consultation and, if you’re in NW Arkansas, NWACPS can’t be beat. Dr. Stacey and everyone who works there is so warm, welcoming, and helpful. I’ve asked a gazillion questions and I love that they’ve explained the process to me every step of the way. And while I am loving the results that I’m seeing, what’s even better is knowing that it will have lasting effects that I’ll see as I grow older.
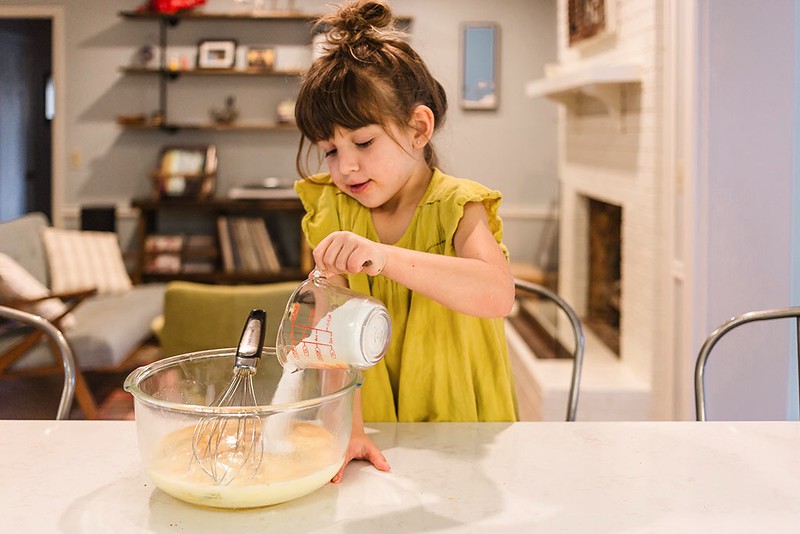
This post is in partnership with NWACPS, however the words and opinions in my blog are truly my own.

#GiveInstantJoy This Christmas

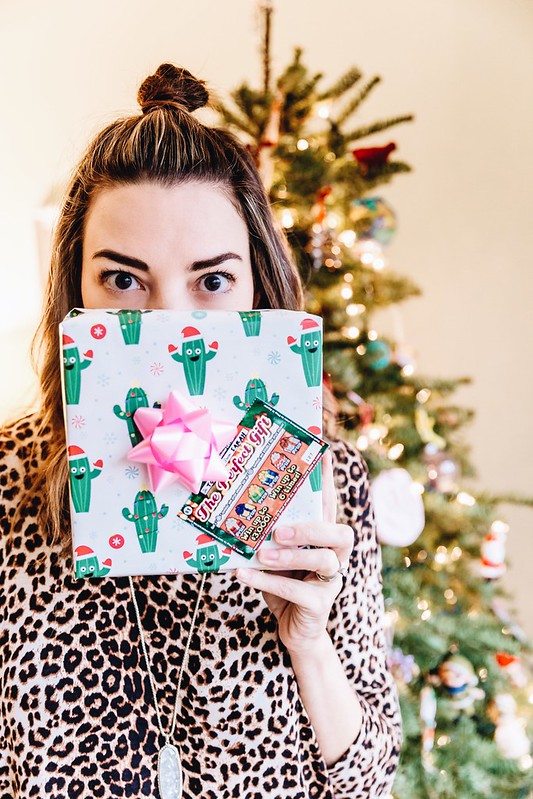
It’s beginning to look a lot(tery) like Christmas! This season I’m excited to partner with the Arkansas Scholarship Lottery and share some fun ways to give scratch-off tickets as gifts for the holidays! Lottery tickets are something I always love to receive, and giving them feels just as good. They add a whole other level of excitement to gift-giving because you never know what the ticket holds. If you are like me, you’re always scrambling to find a few last-minute gifts, so this year I’m sharing a few ways to give lottery tickets as gifts to some of your favorite folks.

Dirty Santa
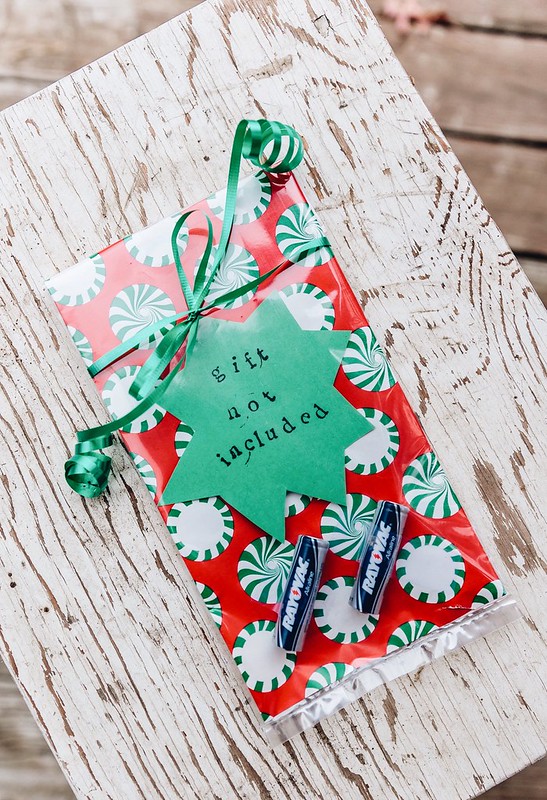
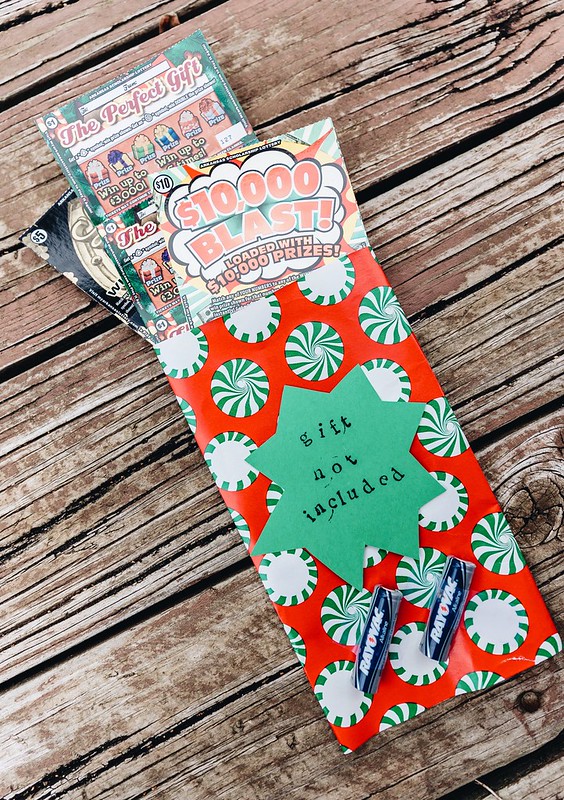
This is my all-time favorite ways to give lottery tickets. The trick is to add hidden lottery tickets to a gag-gift that will undoubtably be passed on to the next person. Just be sure not to let the secret out until the game is done and then the unluckiest person might just be the luckiest of all!

Gift Tags
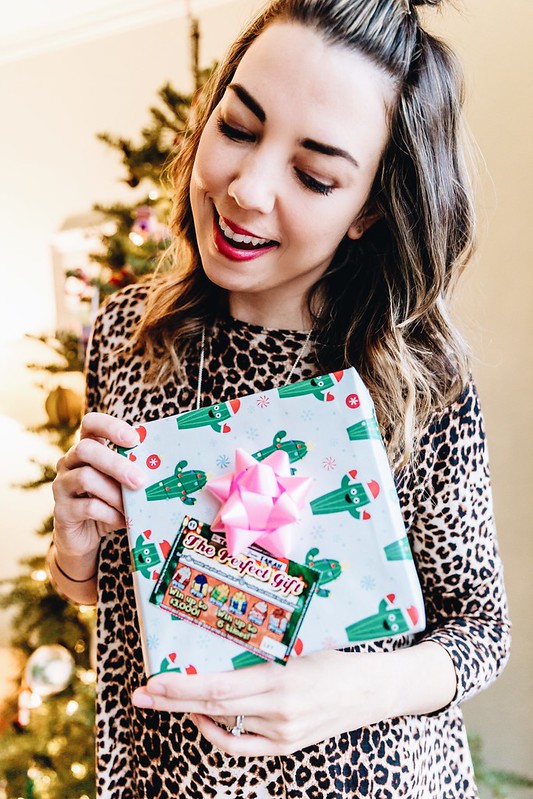
This is a super easy way to add a little extra fun to any gift. And look how handy-dandy The Perfect Gift tickets are – they already have spaces to write the names!

Surprise Joy
I’ve always appreciated and admired random acts of kindness, but often struggle with coming up with exactly what to do. But for this idea, just punch holes in the corner of the lottery tickets, use a pipe-cleaner or string to make a hoop, and then keep a few stashed in your purse. As you make your way around to various Christmas parties and your friends’ homes this December, sneak a couple up on their tree. Maybe they’ll find them before Christmas is over, or maybe it won’t be until its time to take down the decorations. Either way, this is a simple way to spread a little holiday cheer to those least expecting it.

Stocking Stuffers
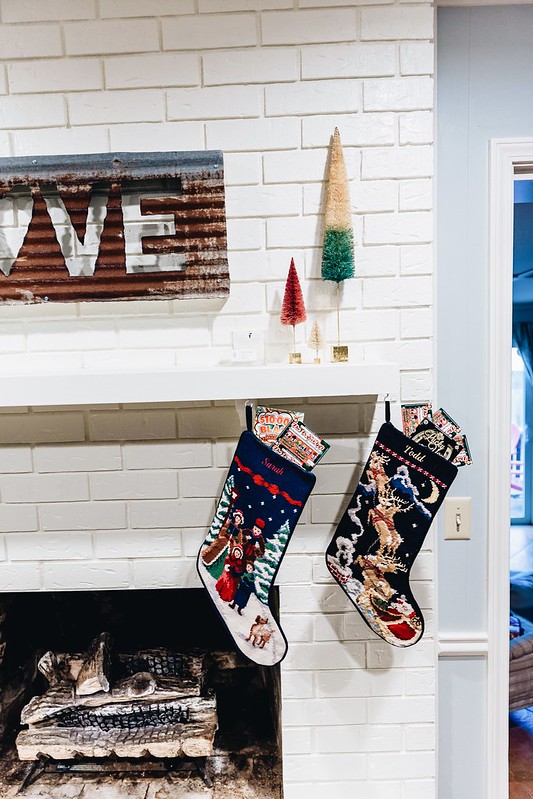
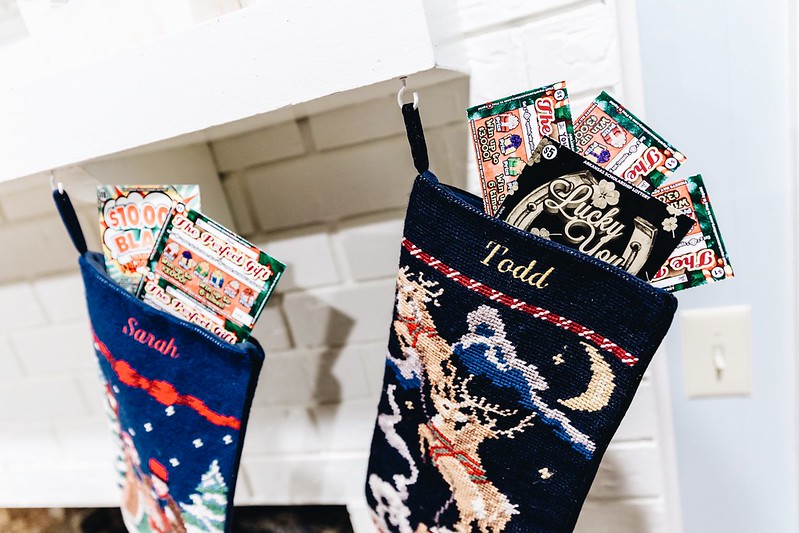
Some people are impossible to shop for (ahem…. TODD). So this year I threw a few lottery tickets into his stocking and already feel better about things. I may have even tossed a few into my own stocking. :)
What makes giving lottery tickets even better? Knowing that they keep giving long after they are scratched. Net proceeds from the Office of the Arkansas Lottery are used to provide scholarships and grants to Arkansas residents enrolled in public and private nonprofit two-year and four-year colleges and universities within the state. Learn more here and then spread a little instant joy of your own.

This is a sponsored post, but all opinions are my own.

RECIPE: Cinnamon Roll Bread Pudding

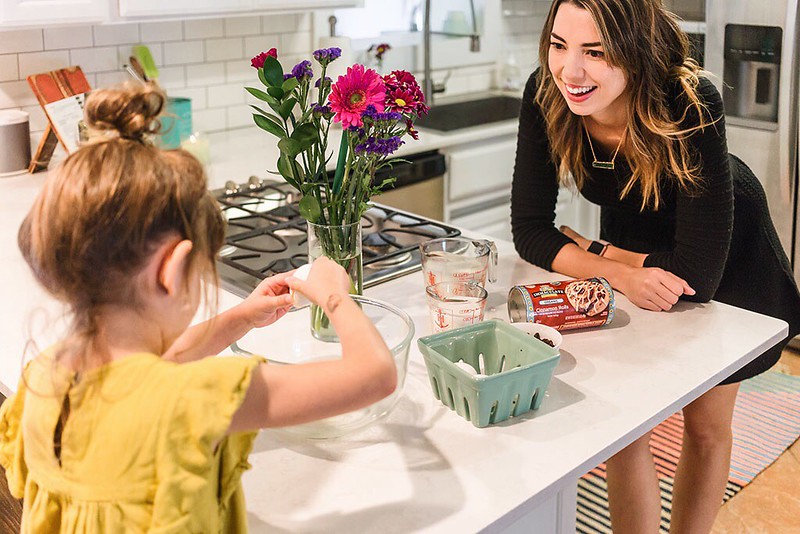
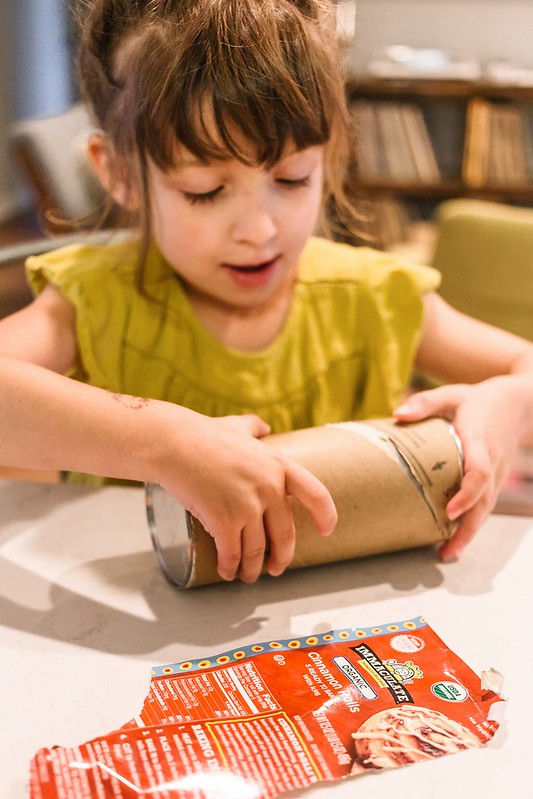
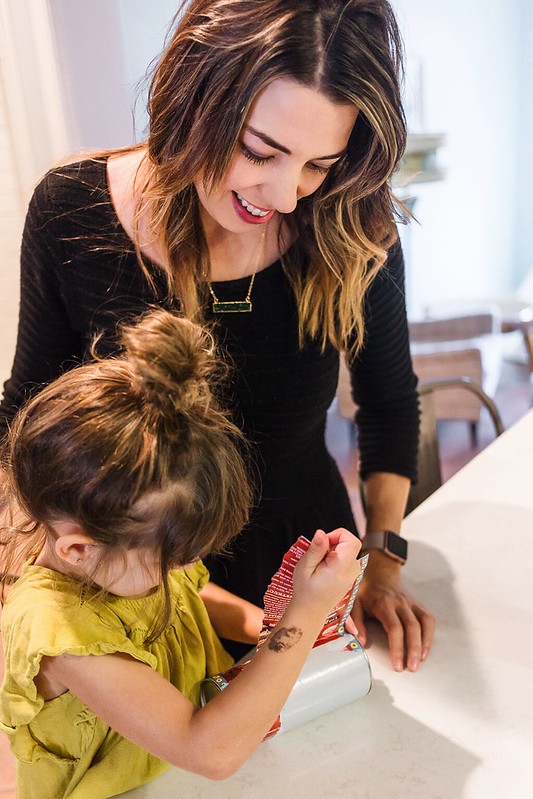
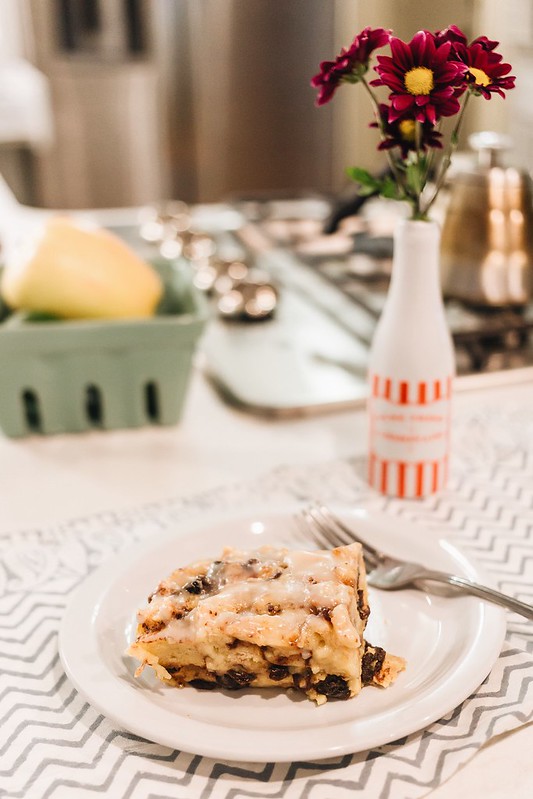
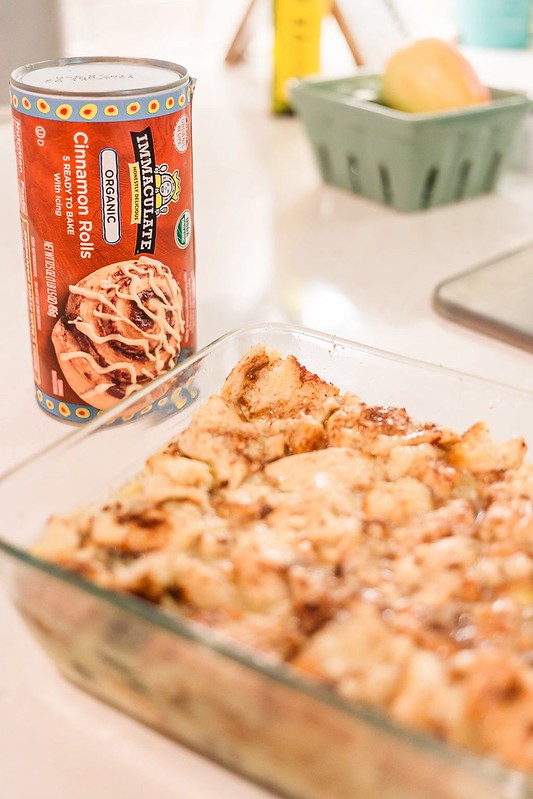
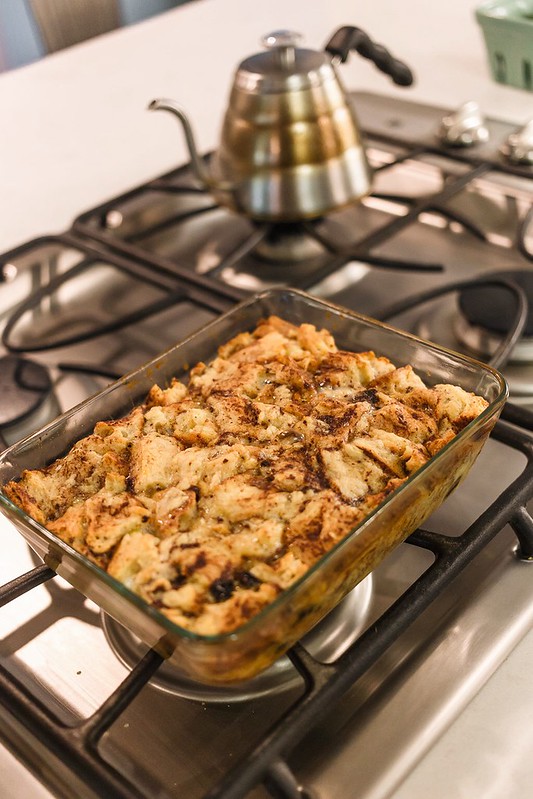
If you are anything like me, you love freshly baked goodies around the holidays, but rarely have the time to make them. I’m always looking for easy, yet delish options to keep my family happy and full in the winter months. This season I’m excited to team up with Immaculate Baking Company to share a bread pudding recipe using their cinnamon rolls and icing. I love this recipe because, not only is it delicious and super simple, but I usually already have the ingredients on hand. It’s a great treat to whip up for a special breakfast or holiday dessert.

Available at Whole Foods, Immaculate Baking Company’s mission to create wholesome baking products, many of which are certified gluten-free or organic. As a regular (re: obsessive) Whole Foods shopper, I love having quality options for cake mixes, pre-made cookie dough, as well as canned biscuits and cinnamon rolls. Plus, in the month of November, spend $10 on Immaculate Baking Company products and save $3 via the Whole Foods app! Ready to try the recipe? Check it out below!

Ingredients:
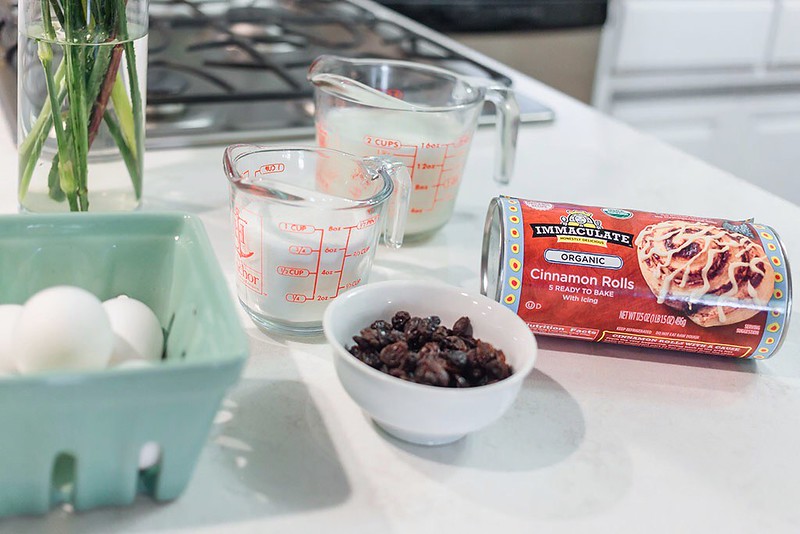
1 package of Immaculate Baking Company Cinnamon Rolls (makes 5 rolls & is located in the dairy section at Whole Foods)
1 1/2 cups of milk
2/3 cups of sugar
4 large eggs
1 1/2 teaspoons of vanilla extract
1/2 cup of raisins

Directions:
– Preheat oven to 350°
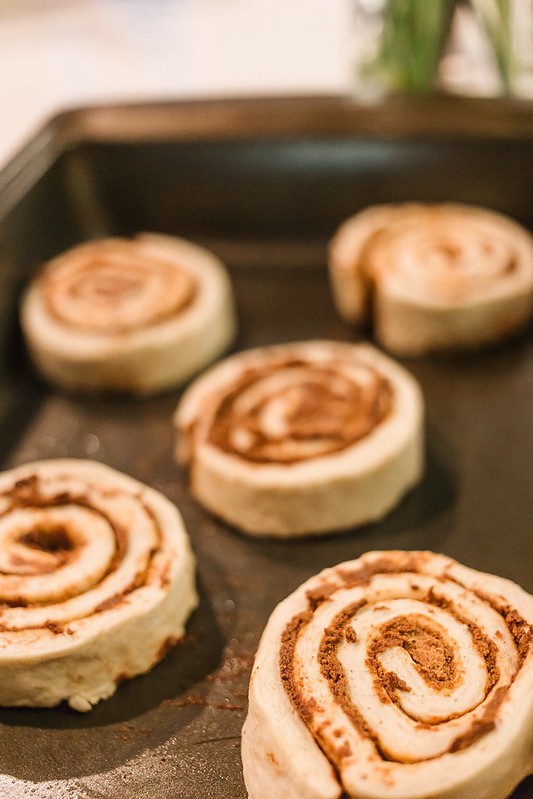
– Bake the Immaculate Baking Company Cinnamon Rolls according to the directions (18-20 minutes)
– While the cinnamon rolls bake, prepare the bread pudding mixture.
– In a large bowl, combine the milk, sugar, eggs, and vanilla. Mix until sugar is dissolved.
– Once the cinnamon rolls are baked, remove from oven and let cool.
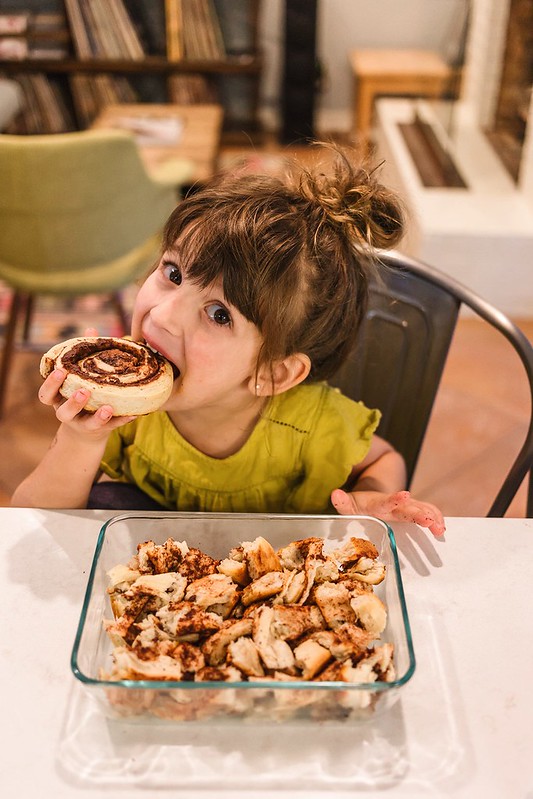
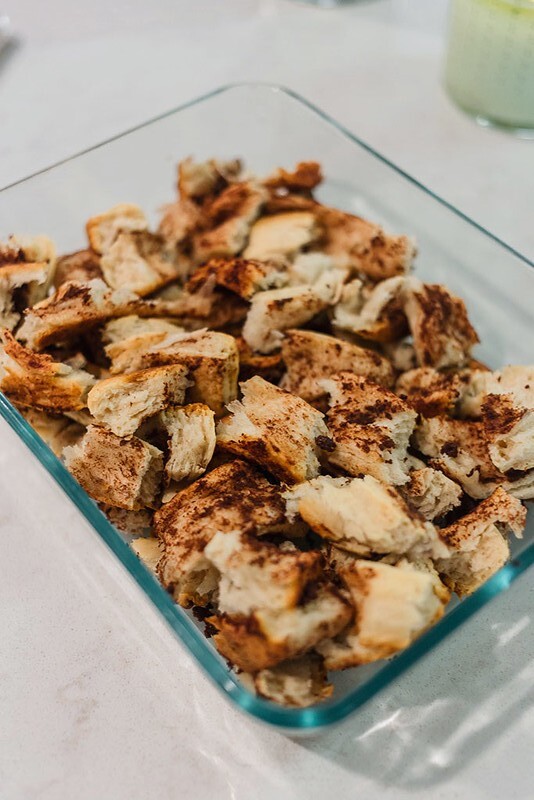
– Tear all 5 cinnamon rolls into bite-sized pieces and place into a medium sized baking dish.
– Toss the raisins into the cinnamon roll pieces.
– Pour the prepared mixture into the dish until the cinnamon roll pieces are just barely covered (you may have a little extra). Using a spoon, gently press down on the cinnamon rolls to ensure each piece is covered with the mixture.
– Let sit for 20 minutes, letting the cinnamon roll pieces soak up the mixture.
– Bake for 30-40 minutes at 350° (or until the casserole is cooked all the way through).
– Let slightly cool, then add the the Immaculate Baking Company icing.
– Serve warm and enjoy!

Want to try out other dishes? Check out Immaculate Baking Company’s website for fun recipe ideas!

I have been compensated by Immaculate Baking for this post; however, I am sharing my own thoughts. All opinions are my own.